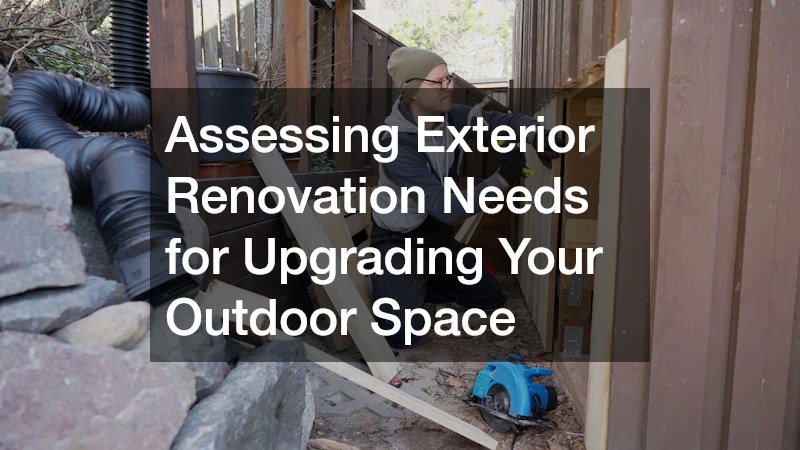
When the weather turns mild and daylight lingers, the desire to transform an ordinary yard into an inviting private retreat becomes compelling. Many property owners immediately fall into the trap of prioritizing surface finishes, rushing out to purchase plush modular seating, string ambient market lights, and plant decorative borders before evaluating what lies beneath. While cosmetic additions deliver immediate gratification, building an outdoor retreat over unstable soil, failing infrastructure, or compromised drainage leads directly to structural failure and costly financial loss. When the essential support systems of a property deteriorate quietly out of sight, even the most expensive decorative elements will eventually buckle, crack, or wash away.
Achieving a lasting outdoor upgrade requires a methodical, inspection-first mindset that prioritizes structural resilience, occupant safety, and functional longevity. Instead of starting with design catalogs, you must conduct a thorough physical audit of the entire grounds, moving systematically from subterranean soil stability up through perimeter boundaries and overhead canopies. This rigorous diagnostic strategy allows you to prioritize high-risk hazards, triage necessary capital investments, and establish a realistic construction sequence. By uncovering hidden site defects early, you protect your property value and ensure that every subsequent enhancement rests on an enduring base.
Correcting Soil Grading and Raising Sunken Slabs Before Adding Hardscapes
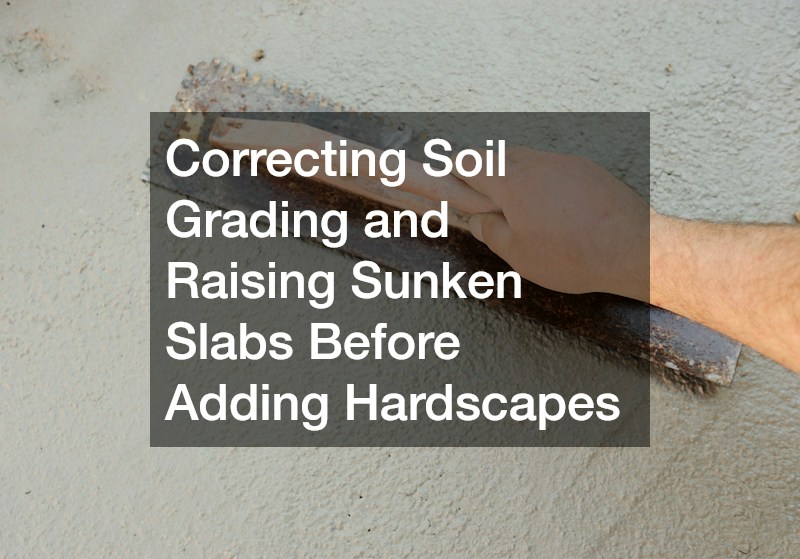
The initial stage of any comprehensive exterior assessment must concentrate on the structural intersection where the soil meets your home. Earth is continuously shifting, expanding with wet seasons and contracting through prolonged dry spells. Over time, these dynamic subsurface movements exert considerable hydrostatic force against footing walls and adjacent flatwork. Before you consider pouring a decorative terrace or constructing a stone outdoor kitchen, inspect the perimeter grade around the home. Walk the exterior walls immediately following a heavy rainstorm to track surface runoff. The soil should slope away from exterior walls at a grade of at least six inches over the first ten feet. If puddles collect near the exterior walls or water flows toward the framing, excess moisture will slowly undermine the property footings. During your walk, pay attention to the discharge points of your roof downspouts. Ensure all gutter extensions deposit runoff at least five to six feet past the foundation wall into designated swales or catch basins.
A thorough perimeter walk also requires examining the exposed masonry and stem walls for settling symptoms that point to deep ground displacement:
- Inspect exposed exterior foundation walls for jagged, stair-step cracks through masonry mortar joints, paying careful attention to wall corners and window well areas.
- Examine window openings and exterior doorways, checking whether doors stick in their jambs or display diagonal drywall cracks radiating inward from exterior trim.
- Note any horizontal fractures wider than a quarter of an inch, as severe structural settling must be remediated through professional foundation repairs before you begin placing heavy hardscaping features on the surrounding terrain.
After verifying primary wall stability, inspect all horizontal flatwork, including walkways, pool surrounds, and patio slabs, for differential settling and trip hazards. Soil washout from leaking downspouts or burrowing pests regularly creates empty subsurface pockets beneath heavy slabs, leading to uneven settling. Use a four-foot level and straightedge along joints to locate any vertical slab offsets exceeding a quarter of an inch.
- Probe expansion joints between walkways to determine if deteriorated joint filler is allowing surface runoff to seep into the subgrade and soften supporting soil.
- Tap hollow-sounding sections with a rubber mallet to locate hidden subsurface voids before slabs fracture under heavy foot traffic.
- Avoid immediate demolition when slabs are structurally intact, as correcting hazardous elevation drops is achieved efficiently through polyurethane concrete leveling, which restores uniform walkway height without destroying adjacent turf.
Diagnosing Pavement Subbase Failure and Sealing High-Traffic Slabs Against Moisture
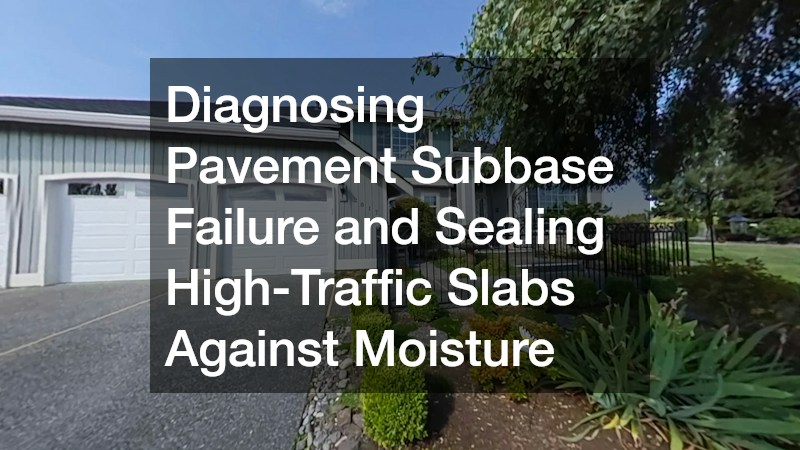
Heavy-use vehicular pavements and utility flooring endure continuous punishment from heavy wheel loads, automotive chemicals, and harsh seasonal freeze-thaw cycles. Driveway evaluations must establish whether surface distress stems from normal weathering or catastrophic failure within the gravel subbase. Perform a water ponding test thirty minutes after a rainstorm to locate depressions deeper than half an inch along frequent vehicle paths. Water that stands across vehicular tracks indicates that the crushed aggregate base below has compacted unevenly or washed away entirely.
Carefully evaluate the cracking patterns across the driveway to determine whether standard maintenance can preserve the surface or if full structural reconstruction is necessary:
- Differentiate between thin, straight shrinkage cracks and dense networks of interconnected fissures that resemble the scales of reptile skin across wheel paths.
- Inspect outer pavement edges for crumbling aggregate and raveling, which frequently happens where vehicle tires repeatedly track off the supported subbase shoulder.
- Recognize that extensive alligator cracking signals deep base instability, meaning surface sealants will fail rapidly and full excavation with fresh asphalt paving is required to support vehicular weight. When assessing the existing asphalt thickness along exposed driveway borders, look for a uniform compacted depth of at least two to three inches over a four-to-six-inch crushed aggregate subbase.
Covered porches, detached workshops, and garage bays require equal scrutiny, especially when these zones are intended for conversion into seamless outdoor entertainment suites. Before applying decorative coatings to these concrete floors, test for vapor transmission by taping an airtight plastic square to the surface for twenty-four hours. Moisture droplets collecting beneath the plastic confirm high hydrostatic pressure that will break topical adhesives.
- Examine concrete floors for spalling, surface scaling, and pitted areas where winter de-icing salts have chemically eroded the protective cement paste.
- Look for vehicle fluid saturation that has seeped into porous concrete, which requires chemical degreasing and mechanical diamond grinding to prepare clean pores.
- If the slab passes moisture testing, apply an industrial-grade exterior epoxy coating to seal the surface against corrosive automotive fluids, eliminate dusting, and resist tire peeling during summer heat.
Auditing Overhead Canopy Hazards and Excavating Decaying Subterranean Roots
A comprehensive property assessment must extend upward into mature tree canopies and deep into the underlying ground. While mature trees deliver shade, privacy, and architectural majesty, neglected branches pose acute risks to human safety and nearby structures. Begin your arboricultural survey by standing at the property corners to establish clear sightlines toward roofs and overhead utilities. Verify that mature branches maintain at least a ten-foot radial clearance from chimney stacks, gutter lines, and overhead service cables to prevent wind-whipped limbs from damaging shingles or pulling down electric wires during seasonal storms.
Examine the biological health and structural framework of every mature tree to identify safety red flags before framing outdoor living additions:
- Scan the upper canopy for broken, hanging branches that can drop without warning, and look for tight, V-shaped crotches with included bark that split open easily in heavy winds.
- Inspect the trunk flare and root collar for brackets of shelf fungi, fine sawdust frass from wood-boring insects, or soil mounding that indicates the root plate is lifting under wind pressure.
- Schedule an on-site consultation with a certified tree service to perform necessary crown thinning, remove dangerous limbs, or execute complete tree takedowns before pouring patios beneath hazardous branches.
At ground level, do not overlook legacy tree stumps left behind from past landscape modifications. Leaving an old stump to rot naturally creates a subterranean sponge that destabilizes nearby soil and invites destructive pests close to your house. Use an awl to probe the density of any visible stump remnant flush with the grass.
- Inspect the lawn surrounding old root zones for sinkhole depressions, which form when thick underground roots rot away and cause surface turf to collapse inward.
- Search for subterranean termite mud tubes and carpenter ant colonies within twenty feet of old stumps, as wood-destroying insects frequently use buried root systems to bridge into home framing.
- Bring in specialized stump removal services to grind or excavate the root core deep beneath the frost line, ensuring that the ground remains structurally stable for new foundations or lawns.
Testing Boundary Post Stability and Clearing Biological Growth from Exterior Cladding

The boundaries of your yard define your private living area while providing crucial wind shielding and perimeter security. Yet weather exposure, heavy wind gusts, and continuous ground moisture steadily degrade fence footings and exterior building materials. Begin your perimeter assessment by testing the physical stability of gate openings and corner fence posts. Apply firm lateral pressure to each corner post at a height of five feet. If the post deflects more than an inch, the subterranean support collar has either cracked or the structural wood has rotted beneath the turf line.
Perform a detailed structural review across the entire perimeter enclosure to determine whether minor repairs will suffice or complete replacement is necessary:
- Probe the soil-to-air transition zone of wooden support posts with an awl to check for soft, spongy decay where moisture and ground oxygen promote aggressive fungal rot.
- Examine gate hinges, latches, and diagonal braces to verify that gates swing smoothly without sagging or dragging across turf and hardscape surfaces.
- When extensive post deterioration compromises property boundaries, partner with licensed fence contractors who understand frost depth regulations, property line setbacks, and wind-load anchoring requirements. In regions with freezing winters, post holes must extend below the municipal frost line—often thirty-six to forty-eight inches—to avoid winter frost heaving that throws gates and rails completely out of square.
Simultaneously, examine the horizontal and vertical surfaces of your siding, brickwork, stone retaining walls, and composite decking for embedded grime and biological growth. Shaded exterior sections frequently develop dark, slippery films that hold moisture directly against building materials. Scratch any discolored patch with a gloved nail; a slimy residue confirms living organic algae, lichen, or mildew colonies.
- Audit stone walkways, retaining walls, and paver joints for slippery moss growth and white efflorescence deposits left behind by evaporating groundwater.
- Identify fragile architectural components, including antique brickwork, lime mortar, and cedar siding, where excessive water velocity will permanently gouge surfaces.
- Hire a professional pressure washing service that uses adjustable pressure and gentle detergent washes to eliminate biological growth without damaging delicate exterior substrates.
Verifying Sprinkler System Uniformity and Integrating Cohesive Living Zones
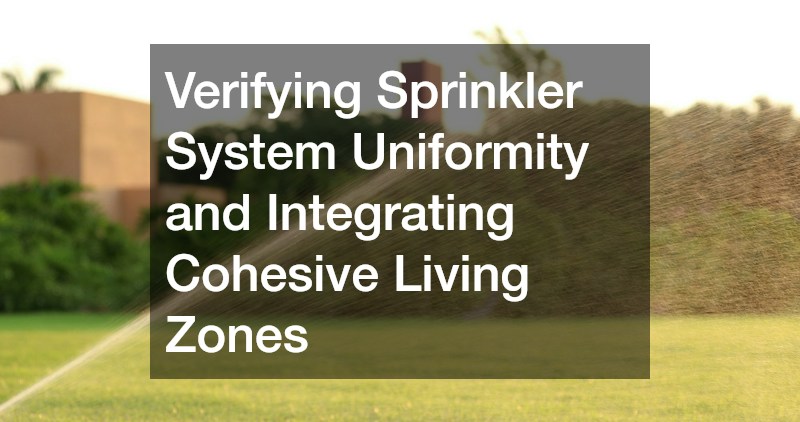
Managing outdoor water efficiency represents a pivotal phase in balancing environmental sustainability with long-term property maintenance. Inefficient watering systems inflate utility bills while saturating foundation soils and starving outlying lawn areas. Audit your underground watering distribution by executing a catch-can test. Place shallow, flat-bottomed containers across each lawn zone and operate the system for fifteen minutes to identify localized dry patches, excessive overlap, or atomized misting caused by excessively high water pressure.
A complete mechanical audit requires opening subsurface valve enclosures and monitoring the spray pattern of each sprinkler head:
- Inspect subterranean valve boxes for standing water, cracked PVC manifolds, or leaking backflow prevention assemblies that quietly waste water between cycles.
- Examine sprinkler spray angles during active operation to ensure heads are not directly spraying home siding, wooden fencing, or hardscape paths.
- When distribution is uneven or outdated, engage certified irrigation services to install pressure-regulating heads, convert shrub beds to efficient drip tubing, and incorporate smart weather sensors.
The final phase of your exterior assessment brings all these structural, utility, and environmental findings together into a functional layout. Spend several days observing sunlight angles and prevailing wind paths across your yard at mid-morning, noon, and late afternoon to map comfortable positions for dining, shaded lounging, and cooking stations.
- Trace natural walking paths from patio doors to storage sheds and gates to prevent placing planter boxes or retaining walls across common footpaths.
- Review municipal lot coverage codes to verify that planned impermeable surfaces, such as dining patios and paved walkways, comply with local rainwater runoff regulations.
- Synthesize all diagnostic data into master backyard designs that sequence construction logically, prevent expensive rework, and harmonize hardscape features with lush green plantings.
A thorough exterior self-assessment produces a wealth of vital property data, providing a practical framework for your upcoming property improvements. Rather than attempting to tackle every project simultaneously and depleting your resources, you can now categorize tasks into clear operational priorities. First, eliminate critical safety hazards by mitigating damaged trees, repairing structural settling, and fixing compromised drainage channels. Second, restore functional infrastructure by leveling sunken walkways, replacing failing pavements, and modernizing water systems. Finally, invest with confidence in visible outdoor living upgrades, such as fine surface finishes, custom cooking spaces, and premium furnishings.
Adopting a phased timeline across a twelve-to-eighteen-month window protects both your personal budget and your peace of mind. By sequencing construction projects logically from the subterranean soil upward to the finished exterior surfaces, you avoid the frustration of damaging new installations to fix previously ignored structural problems. A thoughtful, methodical assessment guarantees that your newly renovated outdoor living space will remain safe, durable, and enjoyable for decades to come.
